2025 Slonina Photography Highlights
As we look back on the year, our photos capture so many highlights. Winter scenes in Yellowstone; wildlife along the Florida coast; northern lights, glaciers, whales, and bears in Alaska; fall color in Yellowstone, Grand Teton, and New England; and desert birds and red rock landscapes in the Southwest. Most of all, they remind us of the great people who joined us on these photo workshops.
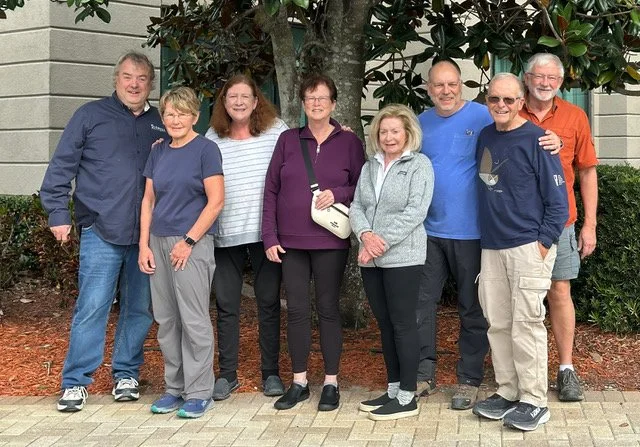
Thank you to everyone who traveled with us in 2025. We’re excited for more adventures in 2026!